BEACON POWER AND PUMP
Complete Energy & Well System Solutions
24/7 Emergency Electrical Service Spokane & Surrounding Areas
24/7 Emergency Electrical Service Spokane & Surrounding Areas
BEACON POWER AND PUMP
Complete Energy & Well System Solutions
24/7 Emergency Electrical Service Spokane & Surrounding Areas
24/7 Emergency Electrical Service Spokane & Surrounding Areas
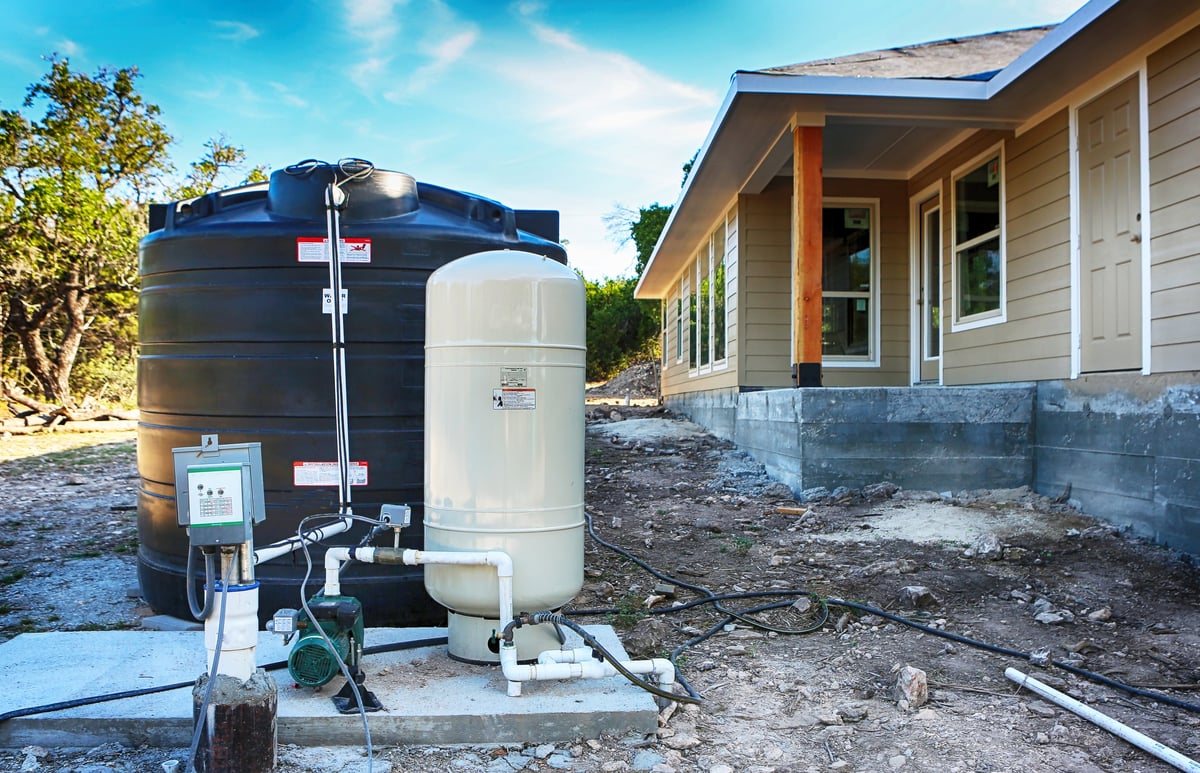
Spokane winters don't ease in — they arrive fast, and the first hard freeze can hit well before the holidays. For homes on a private well, that first cold snap is the moment your system gets tested. A cracked pressure tank, a frozen supply line, or a burned-out pump motor can leave you without water for days and cost thousands to repair.
The good news? An hour or two of preventive work in the fall is usually all it takes to sail through the winter. Below are the six checks we walk through on every fall well system service call in Spokane — work through them in order, and you'll catch the small problems before they turn into frozen, flooded, or burnt-out ones.
Not comfortable working around the pressure tank or well head? That's completely reasonable — call Beacon Power and Pump and we'll handle the full fall checkup for you.
Do these in order, from the pressure tank at your house out to the
well head.
Regular maintenance keeps your well system running
all winter long.
The pressure tank's air charge is what keeps your pump from short-cycling. As temperatures drop, the air charge drops with them. Test the air valve at the top of the tank with a standard tire gauge — it should read 2 psi below your pump's cut-in pressure (usually 28 psi on a 30/50 system). Low air charge means the bladder is waterlogged, and your pump will cycle constantly all winter, burning out the motor.
The pressure switch tells the pump when to turn on and off. Watch your pressure gauge while a faucet runs: the pump should kick on at the cut-in point (say 30 psi) and shut off at the cut-out point (say 50 psi). If the gap between those numbers has narrowed — or the switch chatters — the contact points are pitted and it's time to replace the switch. A $25 switch is cheap insurance against a $1,500 pump replacement.
Head outside and look at the well cap. It should sit snug and level, with no cracks, no gaps, and no chewed wiring from rodents looking for a warm place to nest. A cracked or loose cap lets meltwater and surface runoff straight into your well — which is both a contamination risk and a freeze risk for the wiring and drop pipe below. Replace any cracked cap before the ground freezes.
Any pipe that sees outside air is a freeze target: the line between the well and the house, the piping inside an unheated pump house, and the well head itself. Wrap exposed pipe with closed-cell foam insulation or heat tape, and add a foam or insulated well cover over the head. This is the cheapest step on the list — usually under $50 in materials — and it prevents the most expensive failure of all: a split line.
If you have heat tape or a heat trace cable on your supply line, don't assume it survived the summer. Plug it in and let it run for 20–30 minutes, then feel along the length — it should be gently warm from end to end. Cold spots mean a break in the element. Check that the thermostat or controller that switches it on is functioning too. Replacing a failed heat trace now costs a fraction of thawing a frozen line in January.
Finish by running the system through a full cycle: open a couple of faucets, watch the pressure hold, close them, and let the pump bring the tank back up. Note the cut-in pressure, the cut-out pressure, and how long it takes to recover — jot those numbers down on the tank. That baseline is how you'll know, at 9pm in January, whether the pump sounds normal or whether something is wrong.
If any of these show up during your fall checkup, don't wait for spring.
The pump turning on and off every few minutes points to a waterlogged tank or failing switch.
Often the first hint that the water level has dropped or the drop pipe has a leak.
Sediment and iron can mean a worn pump or a failing tank bladder.
A weeping tank will only get worse, and a frozen leak gets expensive fast.
Beacon Power and Pump services private wells across Spokane, Liberty Lake, Cheney and the surrounding areas. Book your fall well system checkup before winter locks in — or call us any time, day or night, if your system has already frozen.